How to install and compile ViabLab from GitHub
MAC OS
Read more
Step 1. Copy VIABLAB from GitHub
Go to https://github.com/lastre-viab/VIABLAB, click on Code button and download the ZIP file VIABLAB-main.zip.
Open Finder, create the folder viablab that will contain the program and results and unzip VIABLAB-main.zip there.
Step 2. Prerequisite
Go to the VIABLAB-main folder and verify the build folder is empty (create it if it doesn't exist).
Open a terminal and go to the created folder VIABLAB-main/build. With the example folder shown above :
cd viablab/VIABLAB-main/build
- Install gcc/g++. To verify gcc and g++ are installed :
which gcc
which g++
If not installed :
brew update
brew install gcc
brew install g++- Install cmake
brew install cmake- Install external libraries
brew install boost
brew install spdlog
brew install libomp- [PAS UTILE A NE PAS FAIRE tout ce qui est ci dessous aller au step 3]Install cmake 3.13.5. To verify the correct version is installed :
which cmakeIf not installed or not the correct version, uninstall cmake :
brew uninstall --force cmake brew cleanup -s cmake Then command which cmake should answer cmake not found.
Download cmake-3.13.5-Darwin-x86_64.tar at https://github.com/Kitware/CMake/releases/tag/v3.13.5
Verify cmake version :
ls ~/Downloads | grep cmake cmake-3.13.5-Darwin-x86_64.tar Go to download folder and unzip the archive
cd ~/Downloads tar -xvf cmake-3.13.5-Darwin-x86_64.tarMove the folder to viablab folder :
mv cmake-3.13.5-Darwin-x86_64 ~/<your path>/viablab/cmake Verify the version :
~/<your path>/viablab/cmake/CMake.app/Contents/bin/cmake --versionshould answer cmake version 3.13.5.
Add cmake command to global PATH global to use it more easily :
nano ~/.zshrcAdd the following line at the end of file :
export PATH="$HOME/Desktop/viablab/cmake/cmake-3.13.5-Darwin-x86_64/CMake.app/Contents/bin:$PATH" Save and quit : Ctrl + X, then Y, and Return).
Apply the modifications :
source ~/.zshrc[REPRENDRE L'INSTALLATION ICI]
Step 3. Build VIABLAB
- in Finder , Shift + command + G to go to the folder /opt
- Go to homebrew folder and find inside the subfolder libopm
- Check the path and compare it with the one used in VIABLAB-main/source/CmakeLists.txt file lines 10,11 and 13. Substitute your path if necessary.
You are now ready to build VIABLAB code.
Go back to the terminal, ensure that it is open in VIABLAB-main/build
Then cmake command :
cmake -G "Unix Makefiles" -D CMAKE_BUILD_TYPE=Debug ../source[A SAUTER REPRENDRE QUAND C EST ECRIT ON REPREND ICI ]
Si 1 ne fonctionne pas :
[2 - First, replace the CMakeLists.txt file in VIABLAB-main/source by this file CMakeLists.txt.
In the new CMakeLists.txt file, replace the content below the line <## Substitute the text within the parentheses with your ... path> with your own file paths.
Then go to the build folder :
cd buildand the cmake command :
cmake -G "Unix Makefiles" -D CMAKE_BUILD_TYPE=Debug ../source[ON REPREND ICI]
Note that cmake command must be executed only once, on first installation; further, only the make command below will be sufficient to build the code :
makeOr to use all the Mac's CPUs to speed up compilation :
make -j$(sysctl -n hw.logicalcpu)Once the compilation process finished, the executable viabLab.exe is created in build folder.
Linux
Read more
FEDORA :
Step 1. Installation des dépendances
-
Mettre à jour le manager de paquets apt :
sudo dnf update-
Installer les compilateurs C/C++:
Pour vérifier si gcc/g++ sont installés, dans un terminal :
gcc --version
g++ --version
Si gcc/g++ ne sont pas installés sur votre système :
sudo dnf install gcc
sudo dnf install g++-
Installer Cmake (version >= 3.22.1) :
Pour vérifier si cmake est installé et connaitre sa version, dans un terminal :
cmake --versionSi ce n'est pas la bonne version , supprimer les versions existantes de CMake, dans un terminal :
sudo dnf remove cmakePuis
sudo dnf install cmake-
Installer git (optionnel - si on souhaite cloner la dernière version de travail du code)
sudo dnf install git-
Installer les librairies externes open source
sudo dnf install boost-devel
sudo dnf install spdlog-devel
sudo dnf install libcurl-devel
Step 2. Copy VIABLAB from GitHub
-
Cloner le dépôt :
git clone https://github.com/lastre-viab/VIABLAB.git-
or download a zip file at https://github.com/lastre-viab/VIABLAB, click on Code button and download the ZIP file VIABLAB-main.zip.
Open FileExplorer, create the folder dev-cpp that will contain the program and results and unzip VIABLAB-main.zip there.
-
or download a release at https://github.com/lastre-viab/VIABLAB/releases.
Step 3. Build VIABLAB
You are now ready to build VIABLAB code.
First, go to the build folder (create it if it doesn't exist) of VIABLAB in bash (depending on your personal installation). With the example folder shown above :
cd dev-cpp/VIABLAB-main/build/
Then cmake command :
cmake ../sourceIf an error occurs during cmake, go to the build directory and completely delete its contents before restarting the cmake command.
Note that cmake command must be executed only once, on first installation; further, only the make command below will be sufficient to build the code :
makeOnce the compilation process finished, the executable viabLab is created in build folder.
UBUNTU :
Step 1. Installation des dépendances
-
Mettre à jour le manager de paquets apt :
sudo apt update-
Installer les compilateurs C/C++:
Pour vérifier si gcc/g++ sont installés, dans un terminal :
gcc --version
g++ --version
Si gcc/g++ ne sont pas installés sur votre système :
sudo apt install gcc
sudo apt install g++-
Installer Cmake (version >= 3.22.1) :
Pour vérifier si cmake est installé et connaitre sa version, dans un terminal :
cmake --versionSi ce n'est pas la bonne version , supprimer les versions existantes de CMake, dans un terminal :
sudo apt remove --purge cmakePuis
sudo apt install cmake-
Installer git (optionnel - si on souhaite cloner la dernière version de travail du code)
sudo apt install git-
Installer les librairies externes open source
sudo apt install libboost-all-dev
sudo apt install libspdlog-dev
sudo apt install libcurl4
Step 2. Copy VIABLAB from GitHub
-
Cloner le dépôt :
git clone https://github.com/lastre-viab/VIABLAB.git-
ou télécharger une zip file at https://github.com/lastre-viab/VIABLAB, click on Code button and download the ZIP file VIABLAB-main.zip.
Open FileExplorer, create the folder dev-cpp that will contain the program and results and unzip VIABLAB-main.zip there.
-
ou télécharger une release at https://github.com/lastre-viab/VIABLAB/releases.
Step 3. Build VIABLAB
You are now ready to build VIABLAB code.
First, go to the build folder (create it if it doesn't exist) of VIABLAB in bash (depending on your personal installation). With the example folder shown above :
cd dev-cpp/VIABLAB-main/build/
Then cmake command :
cmake ../sourceIf an error occurs during cmake, go to the build directory and completely delete its contents before restarting the cmake command.
Note that cmake command must be executed only once, on first installation; further, only the make command below will be sufficient to build the code :
makeOnce the compilation process finished, the executable viabLab is created in build folder.
WINDOWS
Read more
Step 1. Install MSYS2
Follow instructions from https://www.msys2.org/
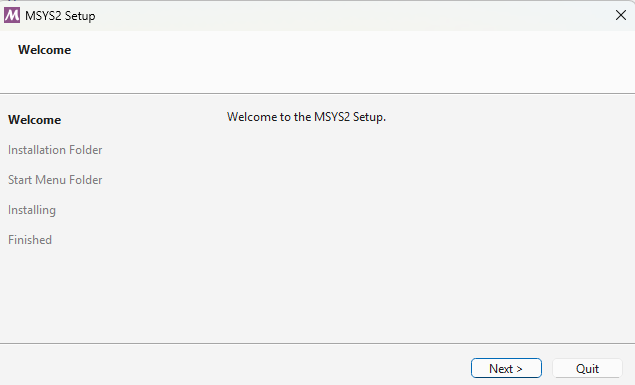
Download and run the installer :
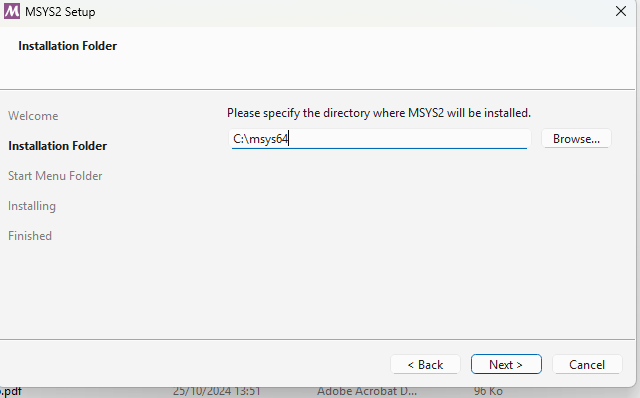
Choose the installation folder :
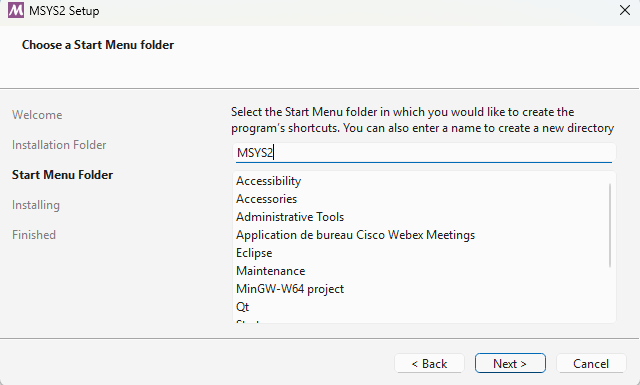
Follow installation steps :
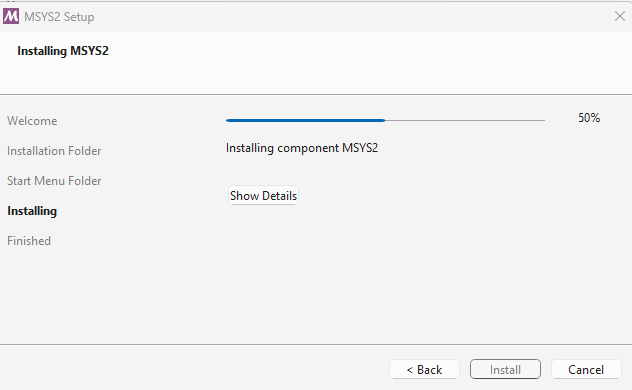
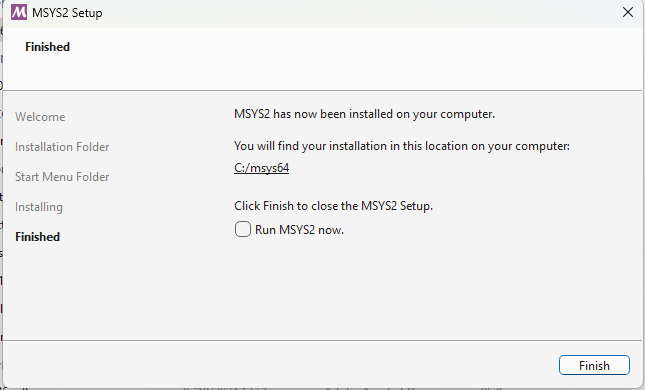
Wait for installation process to finish :
then click on Finish :
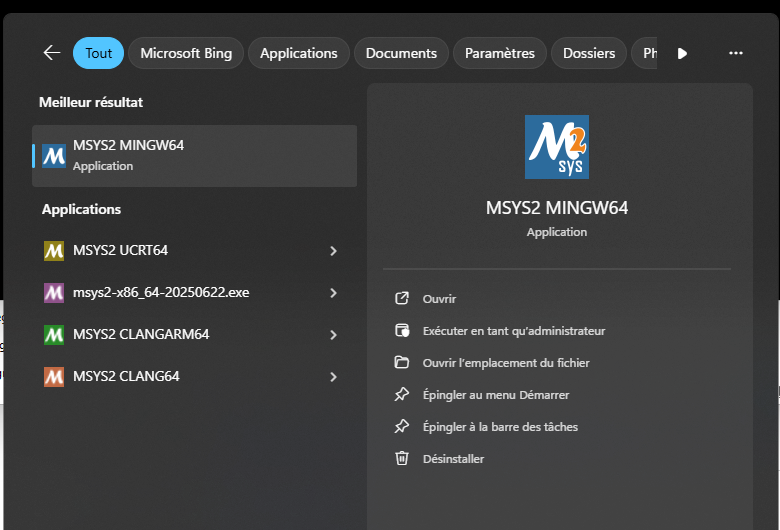
Once installed, the MinGW64 bash can be launched from Windows menu :
Step 2. Install compiler tools and dependencies
Msys provides the package manager , called pacman, that can be used to install all necessary tools and dependencies Doc here : https://www.msys2.org/docs/package-management/
You will need to install the following packages ( you can use the commands below provided for each of them, or look for in https://packages.msys2.org/queue and choose Mingw64 binaries) :
-
GCC: pacman -S mingw-w64-x86_64-gcc
-
CMake: pacman -S mingw-w64-x86_64-ccmake
-
Make: pacman -S mingw-w64-x86_64-make
-
Boost: pacman -S mingw-w64-x86_64-boost
-
Dlfcn: pacman -S mingw-w64-x86_64-dlfcn
-
Spdlog: pacman -S mingw-w64-x86_64-spdlog
To finish the installation, add into System Path variable the path to Mingw64 binaries C:\msys64\mingw64\bin:
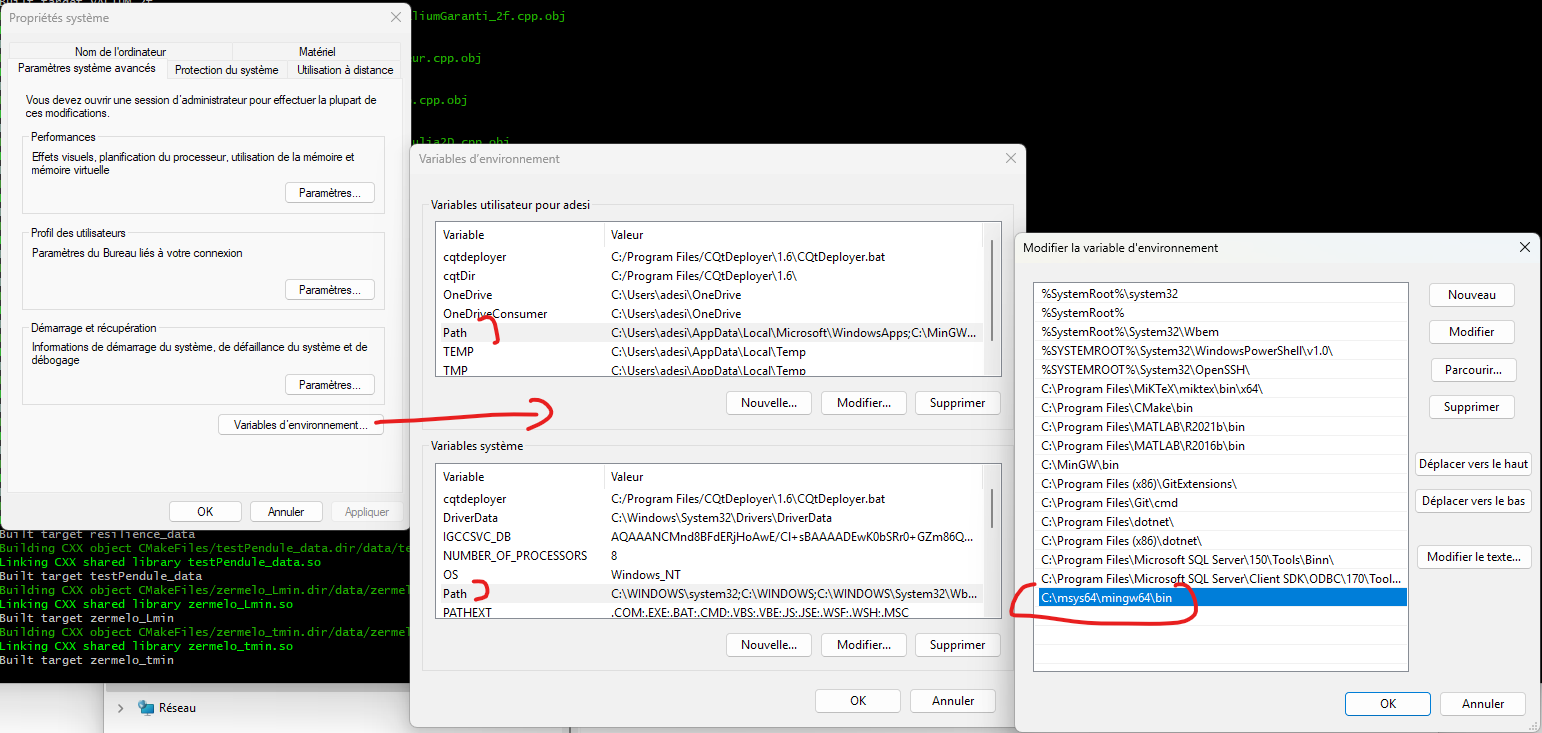
After this operation you may need to restart your computer to ensure that the Path modifications are well registered.
Step 3. Copy VIABLAB in MSyS folder
Go to https://github.com/lastre-viab/VIABLAB, click on Code button and download the ZIP file VIABLAB-main.zip.
By default the MSyS shell is open in /home/username folder. You can see it in FileExplorer
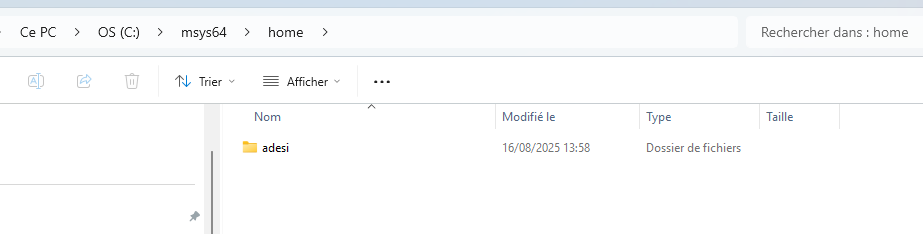
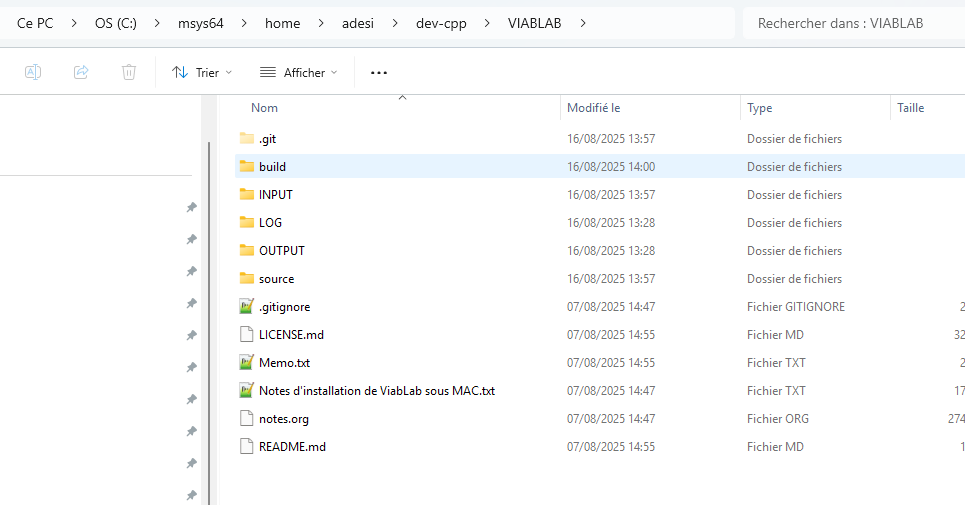
Open this folder in FileExplorer, create the folder dev-cpp that will contain the program and results and unzip VIABLAB-main.zip there. Example :
Step 4. Install Eclipse (Integrated development environment) (optional)
Go to https://www.eclipse.org/downloads/packages/release/kepler/sr2/eclipse-ide-cc-developers
Click on "download", again "download".
Once downloaded, run the installer and choose Eclipse IDE for C/C++ developers.
Click on ‘’launch’’, and 'launch" again.
Step 5. Build VIABLAB in MSyS folder
Go back to the MSyS MINGW64 shell . You are now ready to build VIABLAB code.
First, go to the build folder (create it if it doesn't exist) of VIABLAB in bash (depending on your personal installation). With the example folder shown above :
cd dev-cpp/VIABLAB-main/build/
Then cmake command :
-
cmake -G"MinGW Makefiles" -D BUILD_LIB=OFF ../source
-
If you use Eclipse C++ IDE, you can use the cmake command below to generate Eclipse project settings and enable debugging in Eclipse :
cmake -G"Eclipse CDT4 - MinGW Makefiles" -D CMAKE_BUILD_TYPE=Debug -D BUILD_LIB=OFF ../source
After running CMake, the project is ready to be imported into Eclipse: the build directory (initially empty) contains the data generated by CMake.
In Eclipse, go to the File menu => Import and select the Existing Projects into Workspace option.
Click Next.
Then, in the following window, select the build directory.
Click Finish.
After the import, you will see the project tree in the left panel.
Note that cmake command must be executed only once, on first installation; further, only the make command below will be sufficient to build the code :
mingw32-make
Once the compilation process finished, the executable viabLab.exe is created in build folder.