Comment installer et compiler ViabLab à partir de GitHub.
MAC OS
Lire la suite
Contenu à venir...
LINUX
Lire la suite
FEDORA :
Etape 1. Installation des dépendances
-
Mettre à jour le manager de paquets :
sudo dnf update-
Installer les compilateurs C/C++:
Pour vérifier si gcc/g++ sont installés, dans un terminal :
gcc --version
g++ --version
Si gcc/g++ ne sont pas installés sur votre système :
sudo dnf install gcc
sudo dnf install g++-
Installer Cmake (version >= 3.22.1) :
Pour vérifier si cmake est installé et connaitre sa version, dans un terminal :
cmake --versionSi ce n'est pas la bonne version , supprimer les versions existantes de CMake, dans un terminal :
sudo dnf remove cmakePuis
sudo dnf install cmake-
Installer git (optionnel - si on souhaite cloner la dernière version de travail du code)
sudo dnf install git-
Installer les librairies externes open source
sudo dnf install boost-devel
sudo dnf install spdlog-devel
sudo dnf install libcurl-devel
Etape 2. Copier VIABLAB à partir de GitHub
Dans FileExplorer, créer un répertoire viablab qui contiendra le programme et les résultats
Pour copier ViabLab, trois possibilités :
-
Télécharger la dernière release à l'adresse https://github.com/lastre-viab/VIABLAB/releases. Dézipper l'archive dans le répertoire viablab.
-
A l'adresse https://github.com/lastre-viab/VIABLAB, cliquer sur le bouton Code et télécharger le fichier VIABLAB-main.zip.
Dézipper VIABLAB-main.zip dans le répertoire viablab.
-
Ouvrir un terminal dans le répertoire viablab et cloner le dépôt :
git clone https://github.com/lastre-viab/VIABLAB.gitEtape 3. Compiler VIABLAB
Vous êtes maintenant prêts à compiler le code de ViabLab.
D'abord, aller dans le répertoire build (le créer s'il n'existe pas) de VIABLAB-main dans un terminal (le chemin dépend de votre installation). Par exemple :
cd viablab/VIABLAB-main/build/
Ensuite, exécuter la commande cmake :
cmake ../sourceEn cas d'erreur pendant le cmake, aller dans le répertoire build et effacer complètement son contenu avant de relancer la commande cmake.
La commande cmake ne doit être exécutée qu'à la première installation ; ensuite, la commande make ci-dessous sera suffisante pour compiler le code :
makeLorsque la compilation est terminée, l'exécutable viabLab.exe est généré dans le répertoire build.
UBUNTU :
Etape 1. Installation des dépendances
-
Mettre à jour le manager de paquets apt :
sudo apt update-
Installer les compilateurs C/C++:
Pour vérifier si gcc/g++ sont installés, dans un terminal :
gcc --version
g++ --version
Si gcc/g++ ne sont pas installés sur votre système :
sudo apt install gcc
sudo apt install g++-
Installer Cmake (version >= 3.22.1) :
Pour vérifier si cmake est installé et connaitre sa version, dans un terminal :
cmake --versionSi ce n'est pas la bonne version , supprimer les versions existantes de CMake, dans un terminal :
sudo apt remove --purge cmakePuis
sudo apt install cmake-
Installer git (optionnel - si on souhaite cloner la dernière version de travail du code)
sudo apt install git-
Installer les librairies externes open source
sudo apt install libboost-all-dev
sudo apt install libspdlog-dev
sudo apt install libcurl4
Etape 2. Copier VIABLAB à partir de GitHub
Dans FileExplorer, créer un répertoire viablab qui contiendra le programme et les résultats
Pour copier ViabLab, trois possibilités :
-
Télécharger la dernière release à l'adresse https://github.com/lastre-viab/VIABLAB/releases. Dézipper l'archive dans le répertoire viablab.
-
A l'adresse https://github.com/lastre-viab/VIABLAB, cliquer sur le bouton Code et télécharger le fichier VIABLAB-main.zip.
Dézipper VIABLAB-main.zip dans le répertoire viablab.
-
Ouvrir un terminal dans le répertoire viablab et cloner le dépôt :
git clone https://github.com/lastre-viab/VIABLAB.gitEtape 3. Compiler VIABLAB
Vous êtes maintenant prêts à compiler le code de ViabLab.
D'abord, aller dans le répertoire build (le créer s'il n'existe pas) de VIABLAB-main dans un terminal (le chemin dépend de votre installation). Par exemple :
cd viablab/VIABLAB-main/build/Ensuite, exécuter la commande cmake :
cmake ../sourceEn cas d'erreur pendant le cmake, aller dans le répertoire build et effacer complètement son contenu avant de relancer la commande cmake.
La commande cmake ne doit être exécutée qu'à la première installation ; ensuite, la commande make ci-dessous sera suffisante pour compiler le code :
makeLorsque la compilation est terminée, l'exécutable viabLab.exe est généré dans le répertoire build.
WINDOWS
Lire la suite
Etape 1. Installer MSYS2
Suivre les instructions https://www.msys2.org/
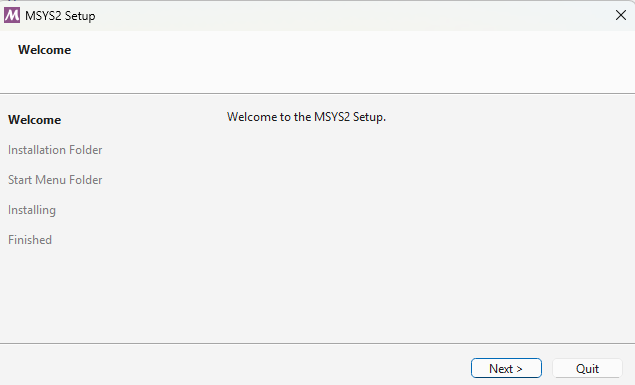
Télécharger et lancer l'installateur :
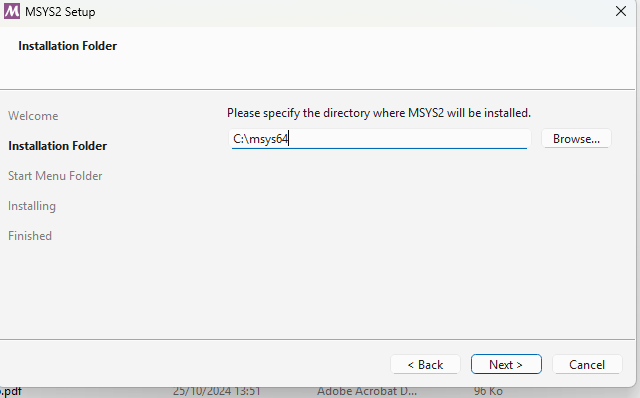
Choisir le répertoire d'installation :
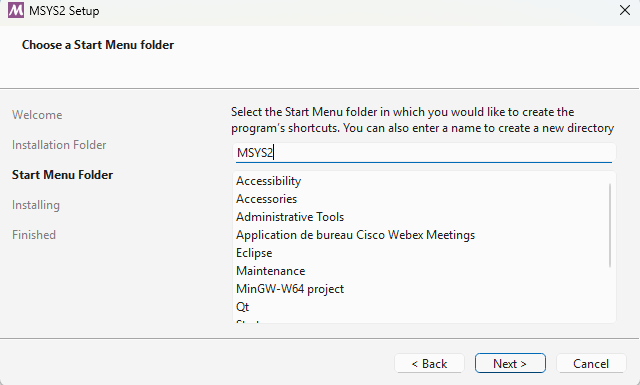
Suivre les étapes d'installation :
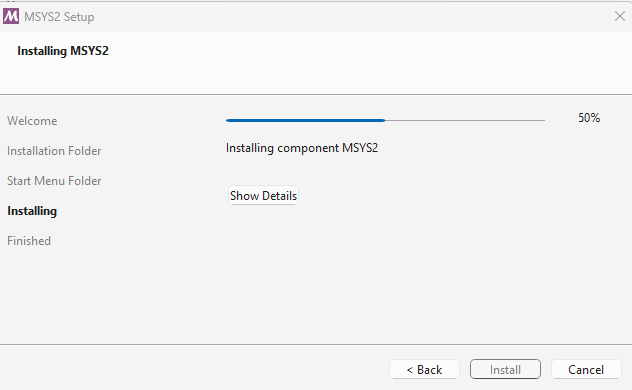
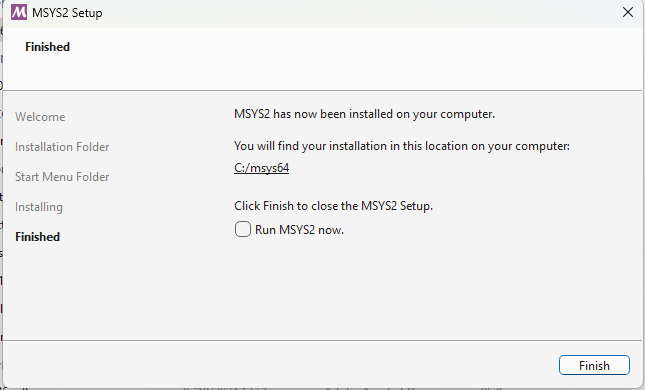
Patienter jusqu'à la fin du processus d'installation :
Cliquer sur Finish :
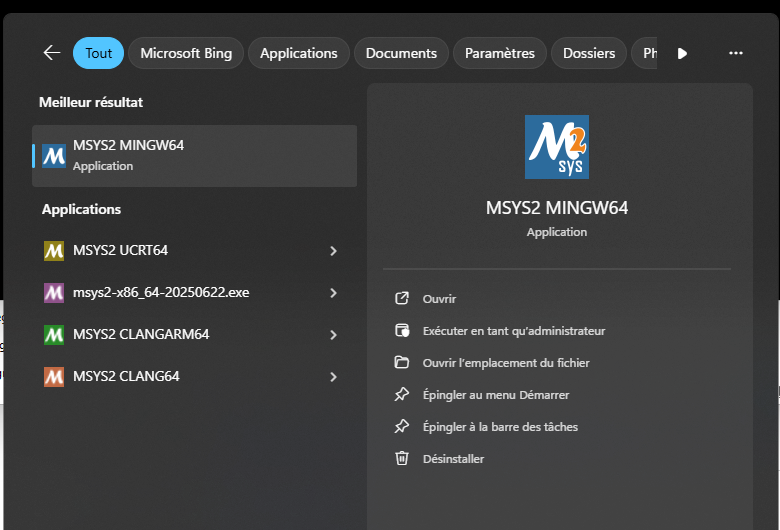
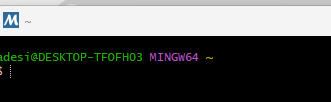
Une fois installé, le script bash MinGW64 peut être lancé depuis le menu Windows :
Etape 2. Installer les outils de compilation et les dépendances
Msys fournit un gestionnaire de paquets, appelé pacman, qui peut être utilisé pour installer tous les outils de compilation et les dépendances nécessaires. La documentation est ici : https://www.msys2.org/docs/package-management/
Installer les paquets suivants (utiliser les commandes ci-dessous ou chercher dans https://packages.msys2.org/queue en choisissant Mingw64 binaries) :
-
GCC:
pacman -S mingw-w64-x86_64-gcc -
CMake:
pacman -S mingw-w64-x86_64-ccmake -
Make:
pacman -S mingw-w64-x86_64-make -
Boost:
pacman -S mingw-w64-x86_64-boost -
Dlfcn:
pacman -S mingw-w64-x86_64-dlfcn -
Spdlog:
pacman -S mingw-w64-x86_64-spdlog
Pour finir l'installation, ajouter à la variable System Path le chemin d'accès aux binaires Mingw64
C:\msys64\mingw64\bin :
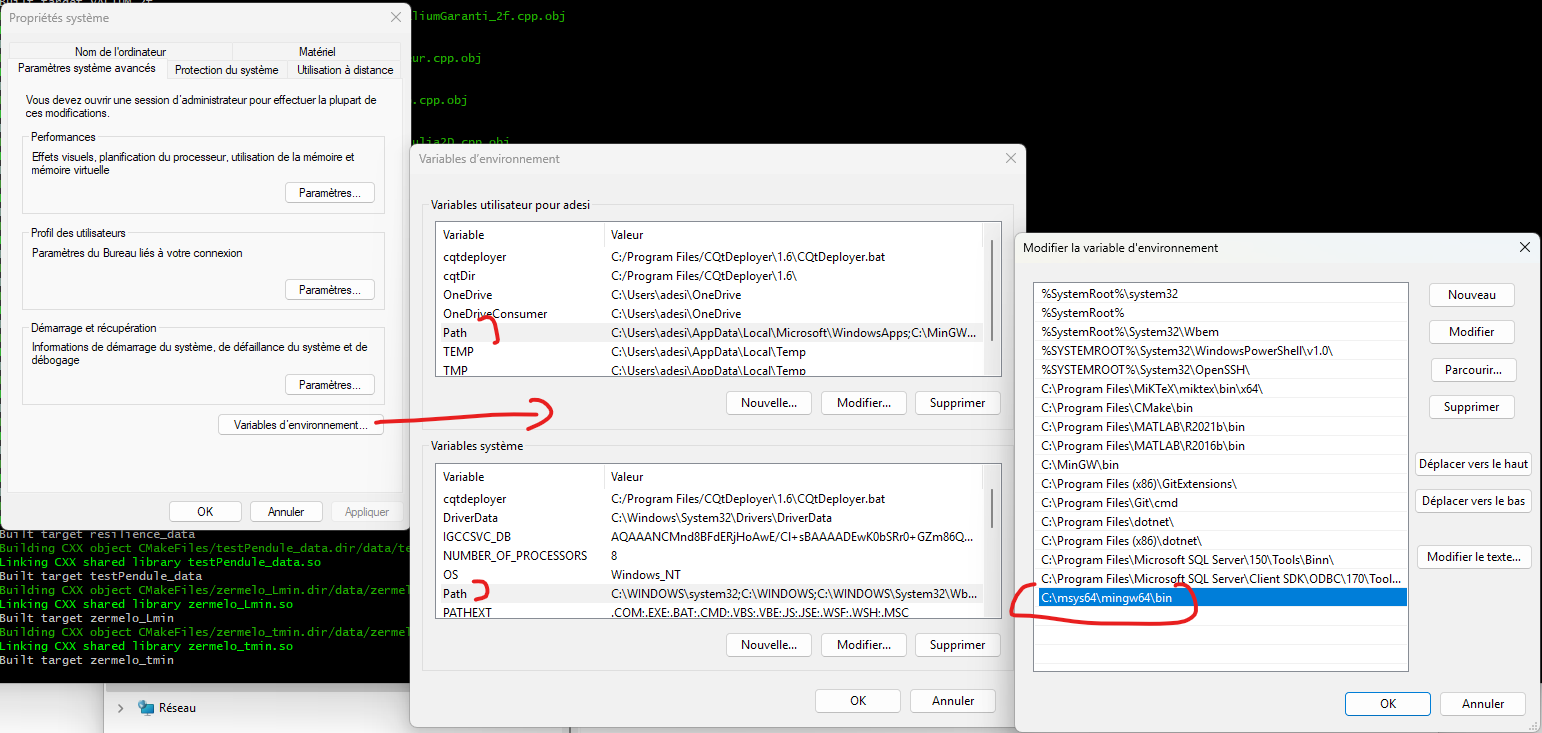
Cette opération peut nécessiter le redémarrage de votre ordinateur pour s'assurer que les modifications de la variable System Path ont bien été enregistrées.
Etape 3. Copier VIABLAB dans le répertoire de MSyS
A l'adresse https://github.com/lastre-viab/VIABLAB, cliquer sur le bouton Code et télécharger le fichier .zip VIABLAB-main.zip.
Par défaut, l'interpréteur de commandes MSyS est ouvert dans le dossier /home/nom_utilisateur. Vous pouvez le voir dans l'explorateur de fichiers.
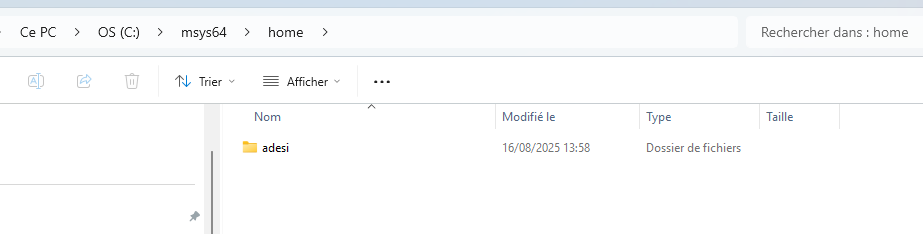
Ouvrir ce dossier dans FileExplorer, créer le dossier dev-cpp qui contiendra le program et les fichiers de sorties et y dézipper VIABLAB-main.zip. Example :
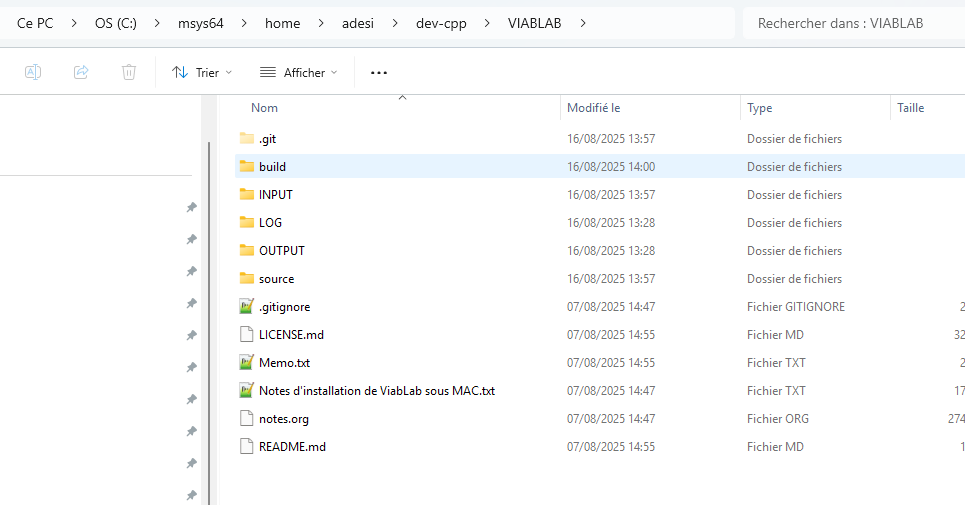
Etape 5. Compiler VIABLAB dans le dossier MSyS
Retourner dans l'interface MSyS MINGW64 (le script bash MinGW64 peut être lancé depuis le menu Windows). Vous êtes prêt pour compiler le code de ViabLab.
First, go to the build folder (create it if it doesn't exist) of VIABLAB in bash (depending on your personal installation). With the example folder shown above :
cd dev-cpp/VIABLAB-main/build/
Then cmake command :
-
cmake -G"MinGW Makefiles" -D BUILD_LIB=OFF ../source
-
If you use Eclipse C++ IDE, you can use the cmake command below to generate Eclipse project settings and enable debugging in Eclipse :
cmake -G"Eclipse CDT4 - MinGW Makefiles" -D CMAKE_BUILD_TYPE=Debug -D BUILD_LIB=OFF ../sourceAfter running CMake, the project is ready to be imported into Eclipse: the build directory (initially empty) contains the data generated by CMake.
In Eclipse, go to the File menu => Import and select the Existing Projects into Workspace option.
Click Next.
Then, in the following window, select the build directory.
Click Finish.
After the import, you will see the project tree in the left panel.
Note that cmake command must be executed only once, on first installation; further, only the make command below will be sufficient to build the code :
mingw32-make
Once the compilation process finished, the executable viabLab.exe is created in build folder.