Sous MAC
Pas possible pour le moment, le fichier binaire n'est disponible que pour Linux et Windows, il faut cloner à partir d'un dépôt.
Sous LINUX
Prérequis :
Pour vérifier si g++ est installé, dans un terminal :
g++ --version
Si g++ n'est pas encore installé sur votre système :
sudo apt install g++
- Avoir installé cmake version 3.22.1 :
Pour vérifier si cmake est installé et connaitre sa version, dans un terminal :
cmake --version
Si ce n'est pas la bonne version , supprimer les versions existantes de CMake, dans un terminal :
sudo apt remove --purge cmake
Vérifier la version de votre Ubuntu, dans un terminal :
lsb_release -a
Si votre version est 22.04, installer CMake 3.22.1 automatiquement :
    sudo apt update
    sudo apt install cmake
Si votre version n’est pas 22.04, installer les dépendances nécessaires :
    sudo apt update
    sudo apt install -y build-essential libssl-dev
Télécharger CMake 3.22.1 :
wget https://github.com/Kitware/CMake/releases/download/v3.22.1/cmake-3.22.1.tar.gz
Extraire l'archive :
    tar -zxvf cmake-3.22.1.tar.gz
    cd cmake-3.22.1
Construire et installer :
    ./bootstrap
    make -j$(nproc)      # Compiles using all available CPU cores
    sudo make install
Vérifier la version de cmake, dans un terminal :
cmake --version
Doit afficher cmake version 3.22.1.
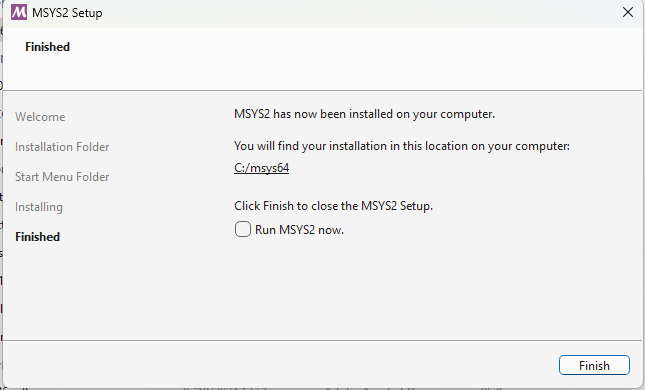
Installation de Viablab :
chmod +x InstallerViabLabGui_v1_linux.run
- Pour exécuter l'installeur
./InstallerViabLabGui_v1_linux.run
- Next - Next - Next - Install - Finish
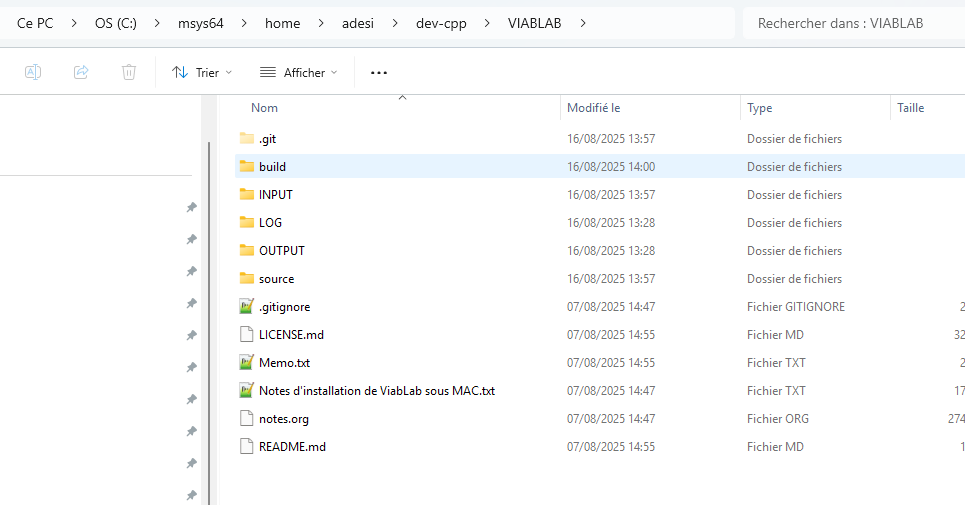
- Puis se placer à l’aide de la commande cd dans le répertoire build : ~/ViabLabGui/bin/VIABLAB/build
- puis, pour une utilisation sans l'IDE Eclipse :
cmake -G "Unix Makefiles" ../source
make
L'exécutable viabLabExe apparaît dans le répertoire build !
- ou, pour une utilisation avec Eclipse :
cmake -D_ECLIPSE_VERSION=4.5 -DCMAKE_BUILD_TYPE=Debug ../source -G"Eclipse CDT4 - Unix Makefiles" -DCMAKE_ECLIPSE_GENERATE_SOURCE_PROJECT=TRUE
Sous WINDOWS :
Prérequis :
- Avoir installé MinGW, une distribution de compilateurs C/C++ GNU pour Windows :
A l'adresse https://sourceforge.net/projects/mingw/files/latest/download , téléchargez l'application MinGW Installation Manager.
Ouvrir cette application
Dans le panneau gauche, développer All packages => MinGW, sélectionner MinGW Base System. Sélectionner dans la liste des packages tous les packages dont le nom contient « pthread », choisir Mark For Installation. Faire de même pour les packages gcc, omp, g++, libstd, mingw s’ils ne sont pas sélectionnés.
Une fois les packages sélectionnés, dans le menu Installation, cliquer sur Apply changes et attendre la fin d’installation.
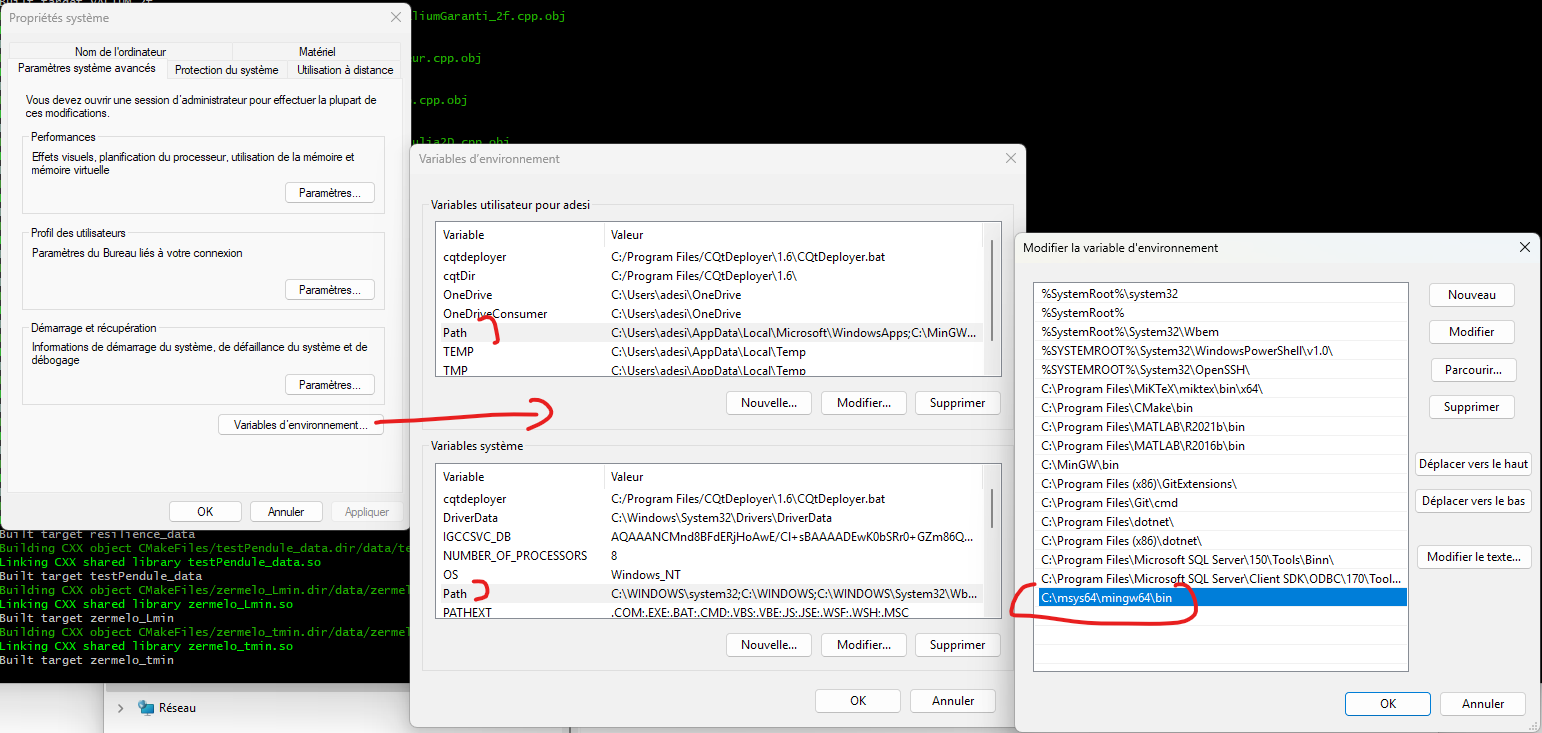
Ajouter l’emplacement de l’installation MinGW dans la variable PATh du système :
Dans paramètres/settings du système, on cherche environmental/environnement et on clique dans «edit environment variables for your account »
Aller dans Path, edit, new et on copie colle : C:\MinGW\bin
Eteindre et redémarrer l'ordinateur.
- Avoir installé cmake version 3.31.7:
Pour vérifier si cmake est installé et connaitre sa version, dans un terminal :
??
Si ce n'est pas la bonne version , supprimer les versions existantes de CMake, dans un terminal :
??
Aller à l'adresse https://github.com/Kitware/CMake/releases/download/v3.31.7/cmake-3.31.7-windows-x86_64.msi pour télécharger le Windows x64 installer.
Vérifier la version de cmake, dans un terminal :
????
Doit afficher cmake version 3.31.7.
- Avoir installé Eclipse Environnement de développement intégré) (facultatif) :
Aller à l'adresse https://www.eclipse.org/downloads/packages/release/kepler/sr2/eclipse-ide-cc-developers
Cliquer sur download, à nouveau sur download.
Une fois téléchargé, cliquer sur l’installeur et chosir Eclipse IDE for C/C++ developers
On ‘’launch’’ par la suite (première exécution pour voir que tout fonctionne)
On ‘’launch’’ de nouveau.
Installation de Viablab :
??
- Pour exécuter l'installeur
??
- Next - Next - Next - Install - Finish
- Puis ouvrir un PowerShell, se placer à l’aide de la commande cd dans le répertoire build : ~/ViabLabGui/bin/VIABLAB/build
- puis, pour une utilisation sans l'IDE Eclipse :
cmake -G "MinGW Makefiles" ../source
make
L'exécutable viabLabExe apparaît dans le répertoire build :
- ou, pour une utilisation avec Eclipse :
cmake -G"Eclipse CDT4 - MinGW Makefiles" -D CMAKE_BUILD_TYPE=Debug ../source
Après l’exécution de cmake le projet est prêt pour être importé dans Eclipse : le répertoire build ( vide au début) contient les données générées par cmake.
Dans Eclipse, aller dans le menu File => Import et sélectionner l’option Existing Projects into Workspace
Cliquer sur Next
Ensuite dans le fenêtre suivante sélectionner le répertoire build
Cliquer sur Finish
Après l’import on voit l’arborescence du projet dans le panneau gauche